News
Slouchy Witch Hat Pattern Hack for Hilde Hat September 24 2023
We are SO thrilled to have guest blogger Tamsin Eilers of @greenstitchwitch Instagram account giving us her Slouchy Witch Hat Pattern Hack for our Hilde Hat pattern .So without further ado, here's Tamsin!
I am a Halloween superfan! There's nothing better than hot apple cider, costumes and scary decorations! From the first moment I laid eyes on the Hilde Hat pattern, I just knew I was going to hack it into a witch hat. I have been on the hunt for *the* perfect witch hat pattern for over a decade! My hunt is over, and this is the only witch that I will ever need. This is a super fast and easy sew, thanks to the pattern!
To get started, you'll need some supplies:-The Hilde Hat pattern-1 yard of fabric (i used flocked denim, and it was the perfect weight)-1 yard of lining fabric-two yards fairly stiff interfacing (you need your hat to stand on its own) I used Pellon #809-chalk or fabric marker-long ruler or yardstick-bias binding (at least 2 yards)-measuring tape-decorations for your finished hat! Fabric or dried flowers, plastic fruits and vegetables, ribbons and lace,the sky's the limit!Start by taking your head measurement and choosing the correct size of the Hilde Hat. We'll only be needing the crown(B) and brim(C) pieces.set your crown piece on the fold of your fabric and use your ruler to draw a line from the base to the fold, creating a long triangle. You can do this on paper to create a pattern you can reuse or draw your chalk line directly on the fabric like i did.


For the brim, we'll be tracing the outside edge to be 2" bigger. Use your ruler to create a dotted line 2" larger than the pattern piece. The inside circle will remain the same.
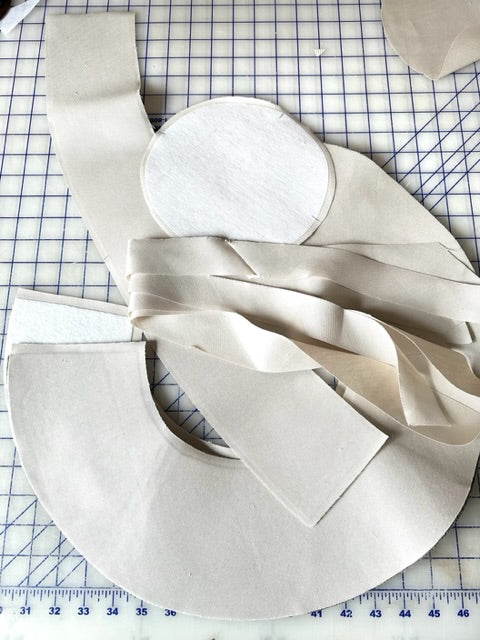
Cut out your fabric and lining, one crown and one brim each. (Lining not shown.)

Then cut your interfacing. For the interfacing you'll need two crowns and two brims. All four pattern pieces will be interfaced for maximum stiffness.

Next, sew up the cone pieces along the long side, both the main fabric and lining. Attach the cone to the brim (use the instructions included with the pattern), right sides together for both main fabric and lining.turn the lining inside out and insert it into the main fabric piece


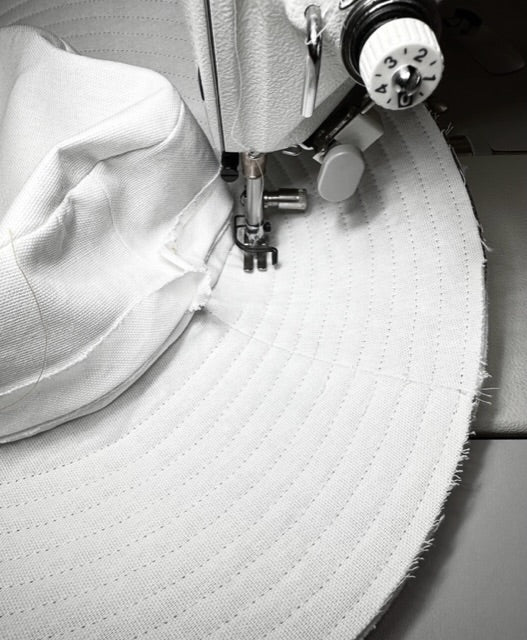
Sew the two brims together and attach bias binding following the instructions included in with the pattern.
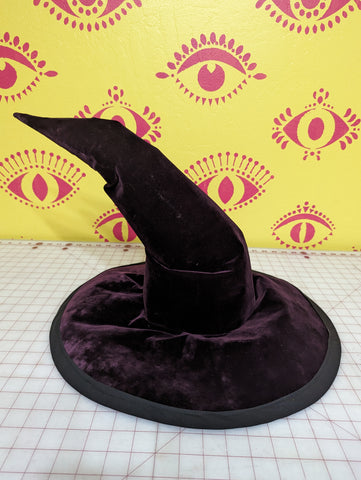
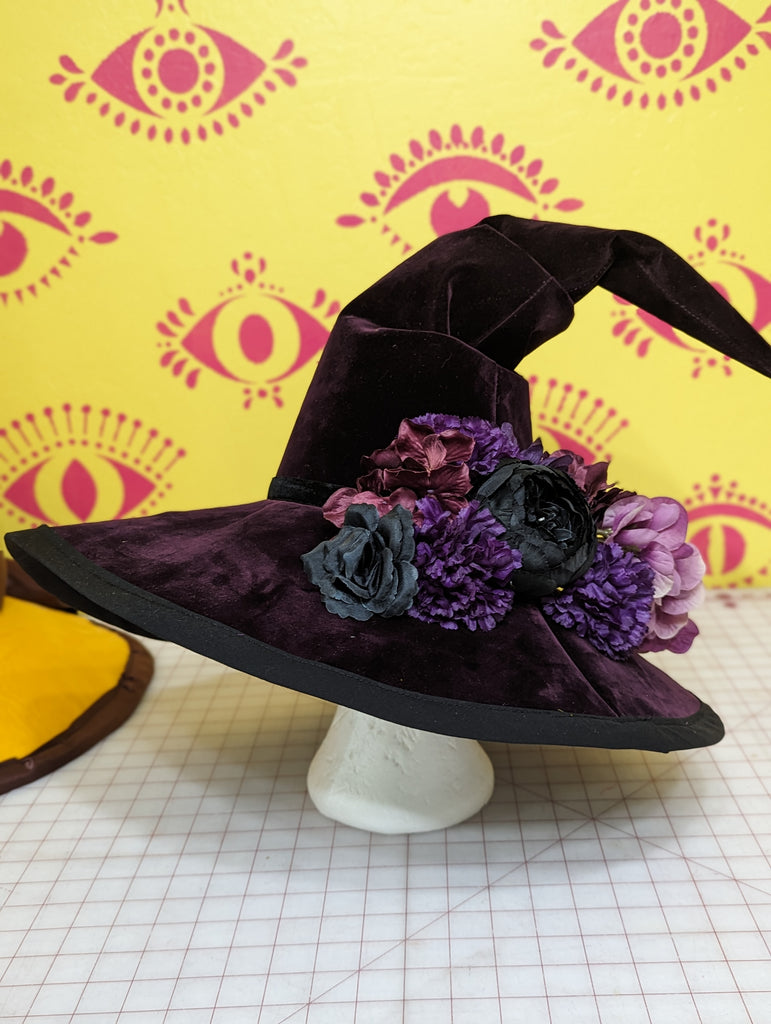
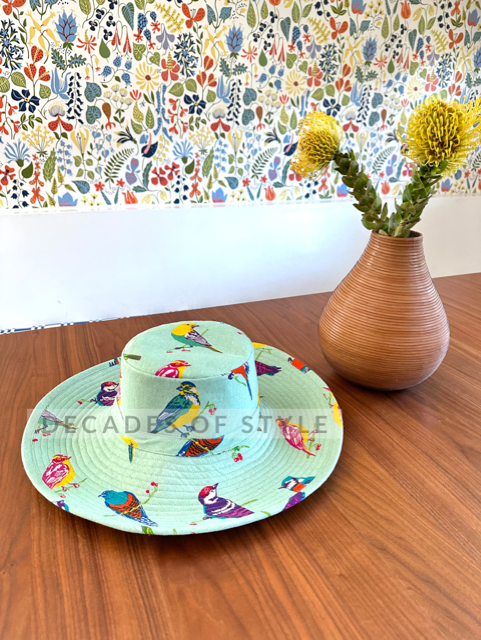
This is the fun part! you can scrunch it up in any way you like! The scrunches will stay in place for the most part, but if your interfacing is very stiff, you may want to tack your folds down with a hand stitch. Decorate to your liking and you're finished!

Hilde Hat Sew Along Part 2 - Lining and Brim Stitching July 14 2023
Hilde Hat Sew Along Official Part 1 - Let’s sew! July 14 2023
Hilde Hat Sew Along Introduction July 14 2023
Welcome to the Hilde Hat sew along! We are so happy you are joining us!If you’ve never made a hat before, don’t be anxious because it’s just sewing. No wires involved, perhaps there is a Pellon product you have never used before but we all know how to fuse interfacing to our pieces so it’s going to be fine.This installment is just going to be a quick introduction covering suggested fabrics and the aforementioned Pellon products. The suggested fabric list is pretty short, “light to mid weight to canvas. Avoid heavy or bulky fabrics.“ Other mid weight fabrics (bottom weight) with a stable weave will work. The seam allowances in the pattern are 3/8” so if your fabric frays very easily (like linen), the project will be challenging.
If you’re wondering if apparel fabric that is more dress weight or shirting weight, like regular quilting cotton or oxford cloth will be suitable, the answer is not really. It's a bit like looking for the Goldilocks weight of fabric; not to light, not too heavy, but just right.
Quilt cotton or other lightweight fabrics are suitable for the lining.
No matter how tempting it is to use a heavy weight fabric or heavy weight canvas, try to resist because it will be more difficult to sew. Also, the fit will not be as expected due to the extra bulk of the heavy fabric in the seam allowance. We know this firsthand from our many rounds of testing on this pattern!Japanese linen canvas fabrics are the perfect weight for this project - tested and confirmed! And you’re not going do better in terms of whimsical prints if you go this route - see three photos below! You can find Japanese fabrics at independent fabric stores like Stonemoutain and Daughter Fabrics, Harts Fabrics and Bolt Fabric Boutique;


The cotton canvas at Joann Fabrics - 44” wide and $12.99/yard regular price - is another option with large selection of prints available. This fabric is technically in their decorator section but it is just right! Shop Joann's Cavas selection. The solid cotton duck in the Joann decorator department is also an option. This fabric comes with a very heavy duty coating of sizing. If you are not pre-washing the cotton duck, you probably won’t need the layer of interfacing in the brim.
Fabric brands like Ruby Star and Cotton and Steel usually have a light weight canvas included in their quilting cotton collections so there are many options.
You can successfully use a large scale print for the project but it’s probably best to stick to an abstract design. (Also, it helps to buy extra yardage of a large scale print so you have more leeway in how you cut your fabric.) The photo below show 1 yard of a large scale print canvas. The repeat on this fabric is almost overwhelming! But keep reading and see how it works beautifully for the pieces of the hat.

One helpful way to envision how a print will ultimately work in your project is to use the paper scraps from the pattern to make a template. The template simply creates a “frame” of exactly what part of the print will show.

Below are 3 different choices of fussy cutting that fabric to show the crown of the hat.

As you can see, it can be surprising and delightful the way a large scale print parses in the hat pieces.


If you have recognizable elements in a large scale print, such as flowers, leaves or animals, you will most likely only see parts of any one element on the hat pieces. So depending on the scale, not a whole flower, only a cropped part of it. Use your template to help you fussy cut to maximize the effect of the fabric. 

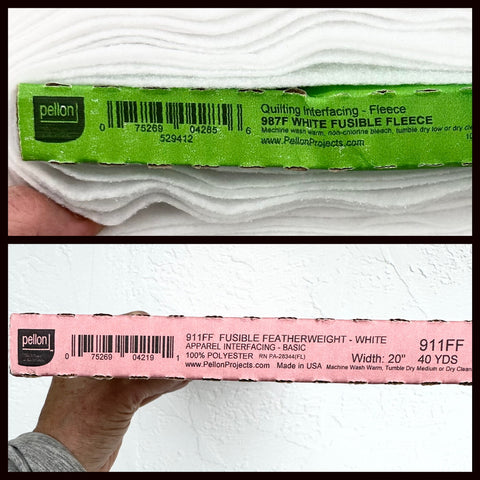
The pattern specifies exactly what Pellon products to use. If you want to use other products, go ahead if you want. Just know ahead of time that WE DON’T KNOW if your substitutions will work. We just don’t. If you email us to ask if "X or Y" will work instead of the fusible fleece, the answer is WE DON'T KNOW. There are times to "shop your stash;" we don't think this is one of them. If you shop the sales and/or use coupons, the fusible fleece and interfacing is not difficult to find and not that expensive. You will end up saving in the long run if you use what the pattern says. Photo shows the exact products specified in the pattern.
Find yourself some fabric, get your Pellon products and we'll start sewing in the next installment.