News
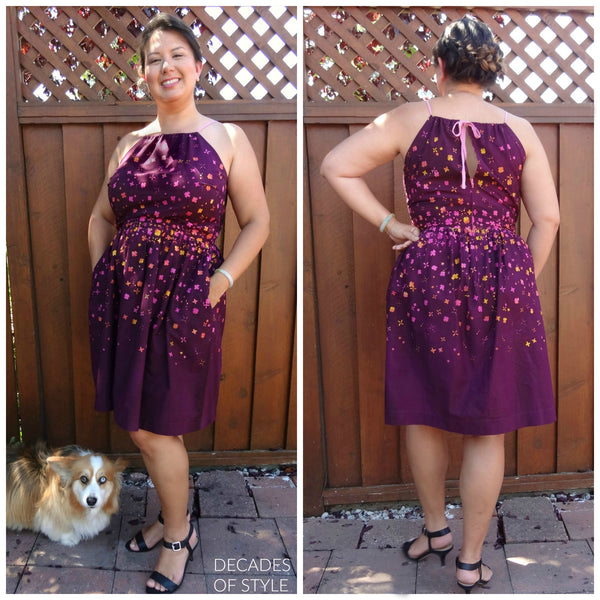
E.S.P. Dress: Getting It Done July 26 2016 1 Comment
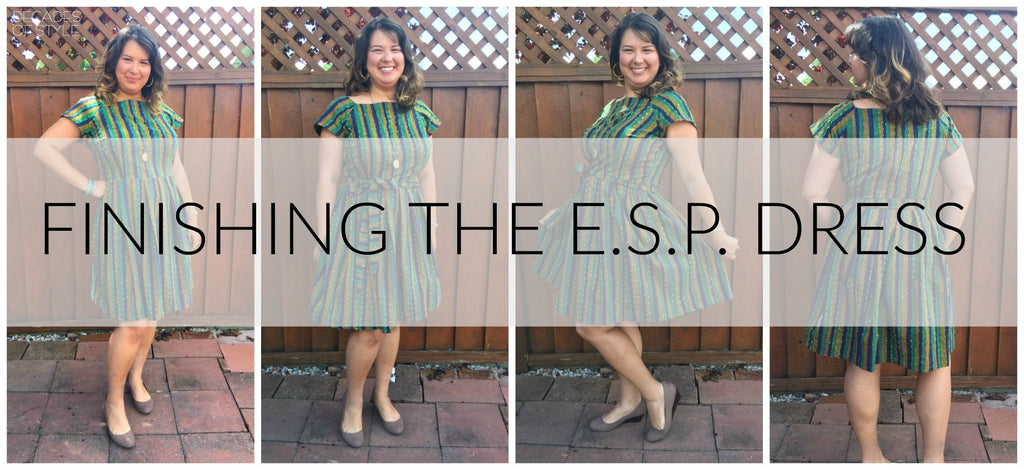
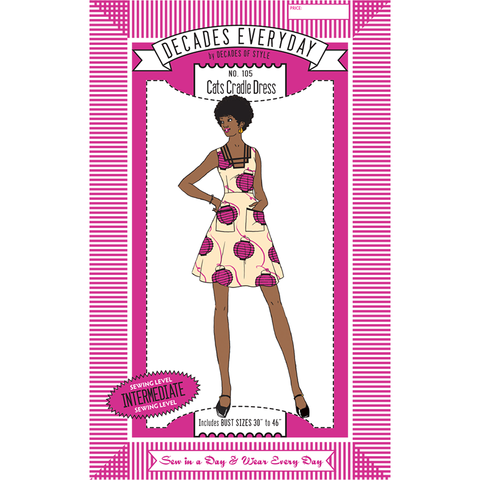
Just when you were thinking the E.S.P. dress was going to be an eternal UFO (unfinished object), here is the last installment of the sew along. We could go on and on about the fun things you can do with the E.S.P. dress, but we released a new pattern, the Cats Cradle dress, and we want to get to that sew along as soon as possible. Lets run though one more pattern adjustment that you can make and a few details of finishing the E.S.P.!
Sleeveless E.S.P.
A bit more work but a fun alternative for hot summer days. You will not be needing the bodice facing pieces for this adaptation.
Things you need:
1 yard of 1" wide bias. We prefer to make our own bias as purchased bias tape can be hard to manipulate. Feel free to use some fun contrasting fabric as no one will see it... unless you want them to.
2 yards of 3/8" - 1/2" ribbon or make your own tie.
Cut the bodice front and back with an additional 3/8" at the top of the neckline. Stay stitch the armscye a scant 5/8" from the edge.
Sew your bodice darts, attach the skirt to the bodice front and back. Measure 9" from the top of the bodice back down the center back and clip into the seam allowance, about 5/8" (to the seam line). Turn in the seam allowance 1/4" then again 3/8" and sew down. Or, if you have a serger, overlock the center back seam and turn and sew it down. The zipper will now start 9" below the neckline. Insert the zipper to the center back.

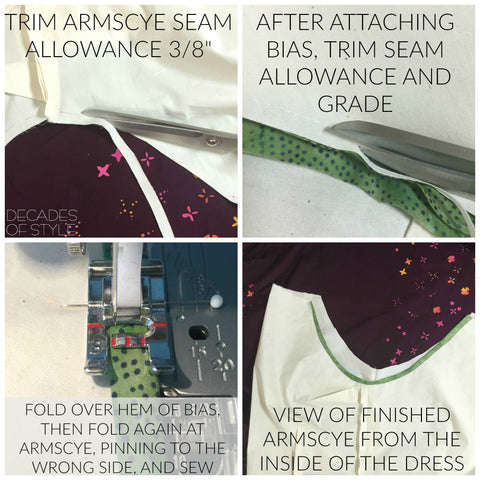
Trim the armscye seam allowance 3/8". Now, fold the free edge of the bias about 1/4" and press (the pressing really helps here). Attach the bias, right sides together using a 1/4" seam allowance, to the armscye, trimming any excess at the ends. Grade the seam allowance of the bias. Then turn bias along the seam line toward the inside of the bodice and stitch 1/8" near the fold. Need a super detailed tutorial on this technique? Victory Patterns has a lovely tutorial on bias finishing edges which can be applied to making a sleeveless dress.
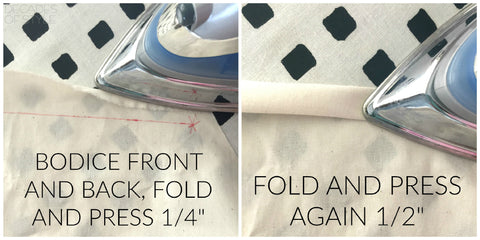
Fold and iron neck line of the bodice front and back 1/4", then again 1/2", pin and sew down, sewing a scant 1/8" from the hem line. You have just made your neckline casing.
Now thread the neckline casings with your ribbon having it start and finish at the center back.
Finishing Your E.S.P. Dress
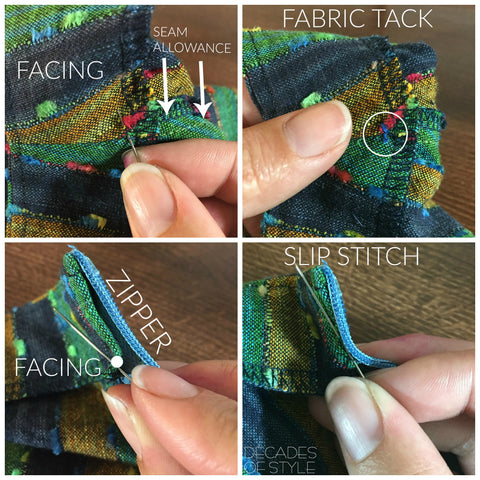
If you are finishing the dress without any adjustments, you'll be attaching the facings and hand tacking them to the seams. While some find facings fidgety, we like the vintage technique of hand tacking. You could hand tack them all around, using a prick stitch if you really don't like loose facings. Using a slip stitch to sew down the facing at the zipper make the stitching invisible.
Hemming the skirt is simple as it is all straight (no fussy curves here). The E.S.P. is meant to be hemmed 2" for a 23" skirt. You are welcome to make it longer or shorter as desired.

To accessorize, we made a sash from our leftover fabric. Check out Tanya's tutorial on making a self fabric belt at the Curvy Sewing Collective. Also, check out gMarie Sews' tutorial on lowering the neckline if you like to show a little bit more skin. We'll come back to the E.S.P. dress in the future to show some other fun pattern adjustments but we REALLY want to get to our newest pattern the Cats Cradle dress and the fabulously easy trick to sewing its lovely ribbon cage work!
Cheers!