News
E.S.P. Dress Sew Along Week 1 May 04 2016 2 Comments
First off - progress report on the search to establish the "voice" for our blog. Er...no actual progress made on that front. We are fast giving up hope of every nailing this down entirely.
So - on to the sew along part! The key to making the E.S.P. dress look beautiful and feel comfortable is a well fitted bodice. A muslin, also known as a mock up or toile, is our preferred way of determining what changes have to be made to the pattern, if any, to ensure a proper fit. Yes, this does delay the gratification of finishing the dress for a while, but it is SO worth it! A properly fitted dress is a revelation. You will feel amazing and proud as you say "This beautiful and comfortable dress? Oh yes, I made it."

BEFORE YOU CUT, CHOOSE YOUR SIZE.
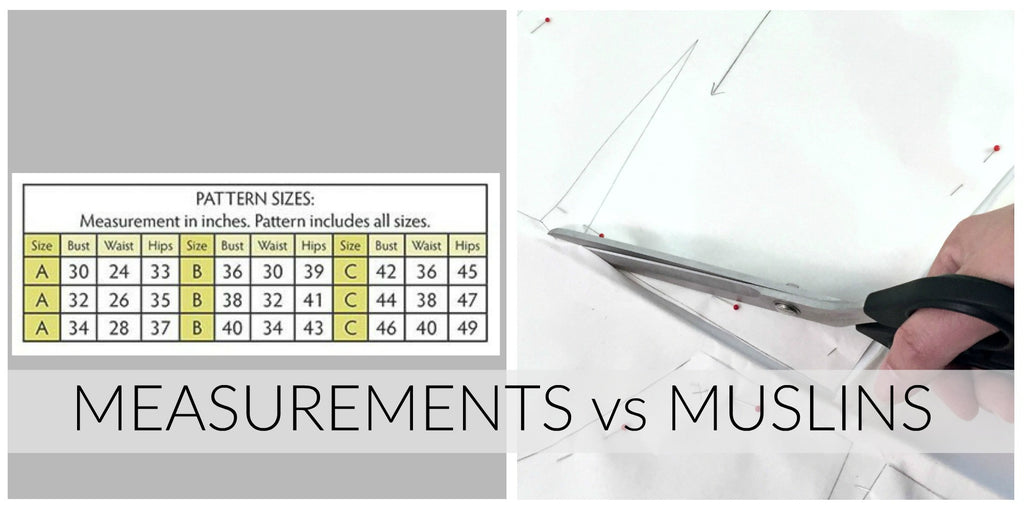
Our model's measurements are Bust 42", Waist 35", Hips 45". At first glance, it appears that the size that best matches those measurements is 42 (our sizes are labeled based on bust measurement). But our model is a DD cup so this changes EVERYTHING! Our patterns are sized and graded based on a B cup, as is the majority of commercial sewing patterns. If your bra cup size is a C cup or larger (regardless of your band size) you will most likely need a Full Bust Adjustment (FBA) to make the bodice fit properly. If you your bra cup size is LARGER than a B – use your high bust measurement to select your size and go from there.
The FBA is positifvely magic as it adds exactly what you need, where you need it to fit your curves. And believe it or not - it is EASY. If you have no pattern adjustment experience, don’t be scared. Check out our favorite FBA tutorial at the Curvy Sewing Collective (whom we love love love, BTW, and you will too when you see all of the amazing information and body positive posts). They make understanding and learning the FBA so easy and clear. Adding the FBA to your sewing skills will be life changing – we kid you not! If you prefer having someone talk you through it, look at Sewing Parts Online's video. It also covers a Small Bust Adjustment (SBA), which helps those with an A cup get rid of a baggy bodice. Need to do a SBA? Use your bust and waist measurement to select your size. There is a written tutorial on the SBA by DixieDIY.com which is very helpful.
As per the FBA guidelines, we selected the pattern size based on the model’s high bust measurement, 40” . Then we did the FBA on the size 40. We placed the sleeve piece over the bodice front to determine the shoulder and mark a point 1/3 of the way down the armscye for the FBA.

Besides adding the fullness to the bodice, now is the time to move the darts to correspond with the bust apex. Again, we'll defer to the Curvy Sewing Collective for a tutorial on lowering a bust dart and Itch to Stitch, which covers moving the waist dart, as well.
Below, we have the results of a WHOLE LOTTA muslin sewing! The first and second row of photos show the muslin sewn directly from the pattern with no alterations. The third row is the muslin with all the pattern adjustments.

See the difference? The size 40 is too tight at the bust (pulling at the bust line in front and back). The size 42 fits the bust but the waist and neckline are too big. The size 40 with the FBA fits the bust "like a glove, but on my boobs," to quote our model.
You may notice there is some extra fabric at the lower back. To fit the lower back, we did a Sway Back adjustment. Tanya at the Curvy Sewing Collective (broken, happy record) has a quick tutorial on this adjustment. Also, the size of the dart can be increased to remove the excess fabric from the bust side. And this is why we love making muslins!
Muslins don't require having all the seams finished and facings sewn on. Just put the essential pieces together and try it on.

If you are new to sewing, this is a great time to practice your marking and dart sewing techniques. Check out these tutorials on marking and sewing a dart by Lucky Lucille and Threads magazine (if you prefer videos).
Next week: The pleated skirt variation.

