Click here for previous installment.
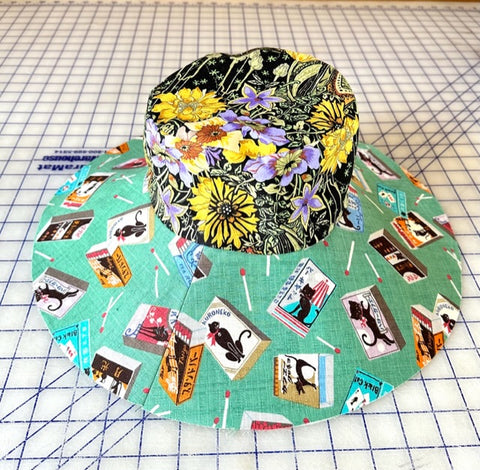
You’ve got your outer hat completed now. Next is making the lining assembly. Repeat instruction steps 2, 4-6 using your lining fabric for the crown and top (see photo below.) This installment will use photos from several different hat projects. If the hat fabric changes from one step to the next, don’t panic; it’s us not you.

Turn both out her hat assembly and the lining assembly wrong side out.

Place the top pieces next to one another. Tack the two assemblies to one another on the crown seam allowance at the center front, center back and sides. You can do this by hand or machine. It doesn’t have to be perfect.
Push the lining assembly all the way inside the outer hat assembly, turning the outer hat assembly right side out in the process. Now you’ll have the two hats stacked with the lining inside of the outer hat.
Line up the center back seams on the brim as closely as you can. Tack the stitching in the center back seams to one another with a few hand stitches; this anchors the two brims together at the critical spot where they should match.
With your sewing clips, secure the brims together smoothing them out. Don’t worry if your brims don’t seem to be exactly the same size or match perfectly. It will all work out.
Stitch the perimeter of the brim 1/4” from the raw edge. Once you’ve done this, you can press the brim from the top side of the hat and convince the 2 brims they are really the same size and want to be together forever and always.
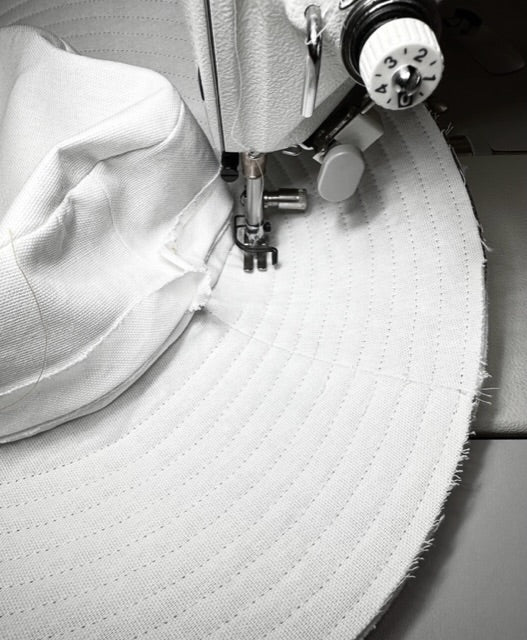
Follow the instructions and make your masking tape (or washi tape) topstitching guide. A magnetic seam guide is going to be a very good friend for this topstitching step.

Continue topstitching the brim with concentric circles 3/8” apart. When you get to the inner edge of the brim, check to make sure your crown lining is in place inside the crown and not slipping down and getting caught in your topstitching.

It’s really starting to look like a hat now!! All that is left is binding the edge and finishing up the hat band.

