Click here for previous installment in the sew along.
In spite of the multiple (and maybe a little finicky) elements of design in this pattern, it is a fun sew! If you have a serger, you can speed up the sewing time by pre-finishing the edges. Here's a quick guide regarding the edges to serge and which you can leave raw. Serged edges are highlighted in red. Serge at the raw edge leaving your 5/8” seam allowance in tact.

The remaining non-serged edges will either be enclosed in a facing or will be finished with along with additional edges as the construction progresses.
If you don’t have a serger and are zigzagging or using some other method to finish your seams, it’s no problem! Just use your desired finishing method as you progress.
For any of you who might happen to have an extra (possibly vintage) sewing machine lying around (or maybe even a collection of them), this is the perfect time to set it up with contrasting top stitching thread if you are going with that option. Gratuitous vintage sewing machine photo below:

Let’s sew!
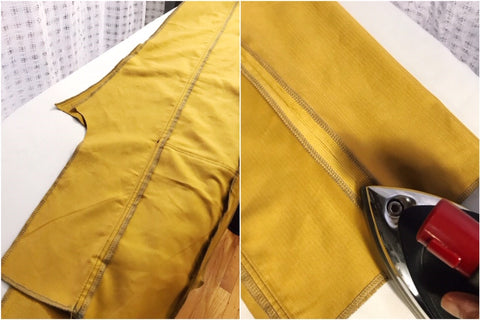
Stitch Side Front and Side Back Pants together at the side seam leaving the seam open above the notch indicated. Press that seam open. (Just a note ahead of time that there are limited "at the sewing machine" photos. And please forgive the color variations in the photos. The lighting as well as the fabric made consistency a challenge.) This photo is pressing open the seam after stitching.

Stabilizing the top edge of the Pants Pocket will prevent it from stretching out as you wear the overalls. This is particularly important if you’ve chosen to cut this pocket on the straight of grain as opposed to the cross grain. A quick strip of fusible interfacing along the fold line will do the job. Pressing on a towel to try to preserve the pile on the corduroy (right side images).

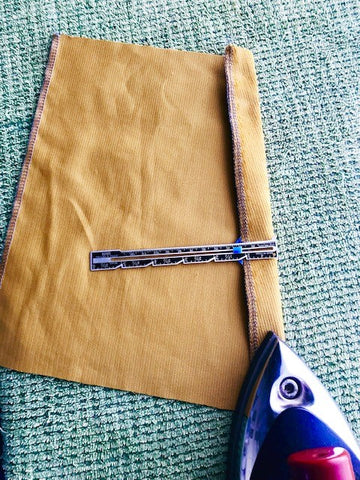
Turn down along the fold line at the top.

Turn up the seam allowance on the bottom edge and press.

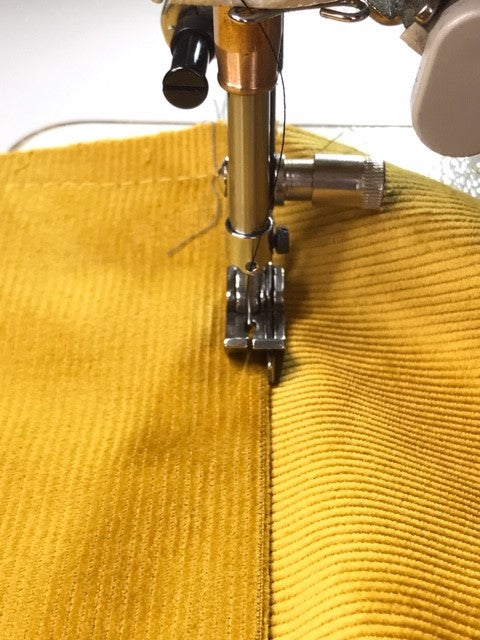
Stitch 7/8” from top fold.

With all the pieces facing right sides up, align the bottom edge of the pocket on the Placement line. Baste the sides of the pocket in place.

Edge stitch and top stitch along the bottom edge of the Pocket. You will be stitching on the cross grain on the pants and on the straight of grain on the pocket. These two different grain lines often have different amounts of “give” to them so hand basting or aggressive pinning is recommended.

If you have a little shift of the pocket and the raw edges no longer align at the sides, don’t worry about it as long as the Pocket still falls in the 5/8” seam allowance, you’ll be good. You can see at the lower left hand corner of the pocket, it shifted and there is about a 1/4" gap to the side. It worked out fine in the end.

Now it's time to make the Side Belt pieces. You should have enough extra fabric to make a test piece if you have any doubt whether your fabric is light weight or not. We used the light weight fabric construction for the back belt but ultimately we should have gone with the heavy weight construction. So-it’s worth a test!
Here's a tip for the light weight fabric construction. After you trim 1/4" off the edges and press in 3/8" along each side (top row photos), you can stitch the short ends together, clip the corners and turn it to finish that short edge (bottom row.)

Otherwise, if you are using heavier fabric, turn in 1/4", then 3/8" and stitch the folded edges down the middle of the belt piece.

Place one of the belt pieces in the position indicated below the waist notch (left) and baste it in place (right.)

Stitch the Center Front Pants to your side assembly right sides together. Pieces next to each other (left). Seam stitched (center). Trim seam allowance Side Front trousers (right).

Press the seam allowances all towards the side assembly (left). Edge stitch and top stitch on Side Front to create the faux flat felled seam (center). What it will look like (right).

Repeat step with the Center Back Pants. Pieces next to each other (left). Seam stitched (center). Seam allowance pressed towards the side assembly (right).

Edge stitch and top stitch Side Back Pants (left). Finished seam (right).

Stitch the inseam right sides together and press seam open.

Turn one pant leg right side out as shown. Then slip it inside the remaining pant leg that is still inside out. Your crotch seam should align perfectly with the right sides of the fabric together.

Clearly mark corner of the seams at the center back - it is the SQUARE on the pattern piece (upper left). Stitch the seam ending at that Square on the center Back Pants pieces (upper right). Clip seam allowance on where the crotch curve breaks in the front and back (lower left). Finish seam between clips (lower right). If you are not using a serger, trim the seam between the clips to 3/8" and finish as desired.

Press the seams open above the clips.

Phew! Are you still reading? Congrats! Your trousers are assembled. Next time we will assemble the Bib and attach it. See you then!


Comments
Decades of Style on February 14 2019 at 01:03PM
It really is an all season garment depending on your fabric choice. :)
Susie on February 14 2019 at 01:02PM
This looks like such a fun sew ! Perfect for summertime with a T-shirt.