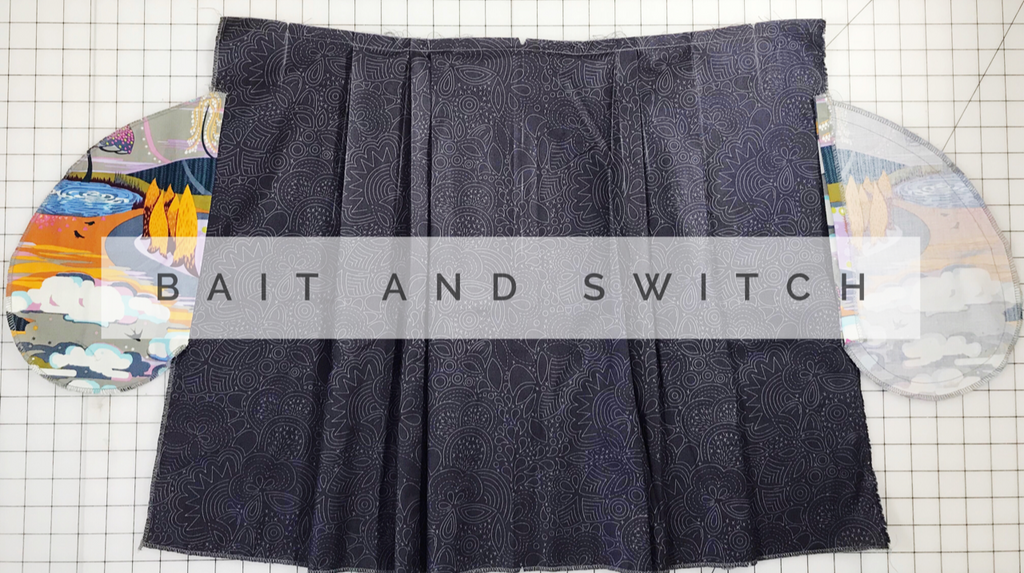
Click here for Part 2 in the sew along.
All those teasers about covering the the pleats in this post were TOTAL lies! There are a few more things to cover before we get to the pleats and it was just too much for a single post. The pleats will be front and center next time (as well as back and center) so it will be worth it to stay tuned for the next installment. Apologies for the bait and switch!
Waisted Edges
We decided to serge all the edges of the pieces before assembling. You can finish the seam edges now or as you proceed. It is entirely up to you. We cut out a small V in the seam allowance for the notches on the pattern. These V notches are still visible after the edges are serged. You can see right before the presser foot where a small V is notched out along the fabric edge.

It is important to stabilize the waist edge of the Skirt Front and Back pieces. You will be doing quite a bit of handling and pressing at these edges as you make the pleats. All this handling and manipulation is on the cross grain of the fabric. Without any stabilizing, this edge will almost certainly stretch out as you put in the pleats. If the waist edge stretches out, when you try to attach the Waist Binding, the pieces won't fit together and that will be annoying!
The pattern calls for your to stay stitch the waist edges. Use a regular stitch length 2 - 2.5 mm and stitch 1/2" from the raw edge. (you can stitch right at the seam line but I prefer the stay stitching to be completely hidden in the seam allowance.)
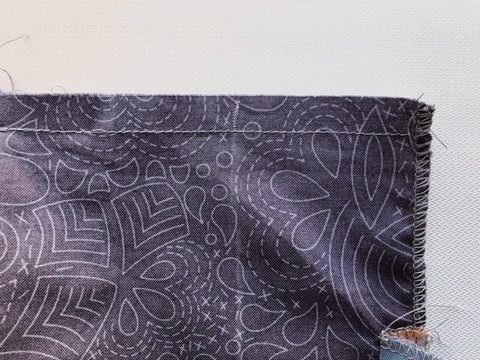
We are also making a Chore Skirt out of a stretch cotton sateen. The cross grain on this fabric is very stretchy! If you are using a stretch woven or something with a lot of "give" on the cross grain, consider using a mesh stay tape like the Dritz tape. This product won't add any appreciable bulk to the seam which will be important when we get to the Skirt Back. (Click photo to link to product on Amazon)
Just stitch the stay tape along the waist edge, on the wrong side of the fabric, right along the seam line (top edge).
All About the Pockets
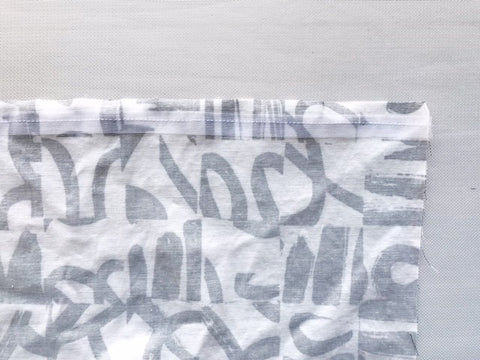
The next step is attaching the pockets. The pocket of for the right side seam is straight forward and attaches to the Skirt Front and Skirt Back at at the right side seam, right sides together, matching notches. Press the pocket out towards the side of the skirt. Photos: 1-Skirt Front right side seam. 2-Skirt Back right side seam. 3-Skirt Back and Pocket


The left pocket construction is a bit odd but it is necessary for the zipper insertion later on. Attach one Pocket piece to the Skirt Front at the left side, right sides together, matching notches. Press the pocket out towards the side of the skirt. (looks familiar, doesn't it!)
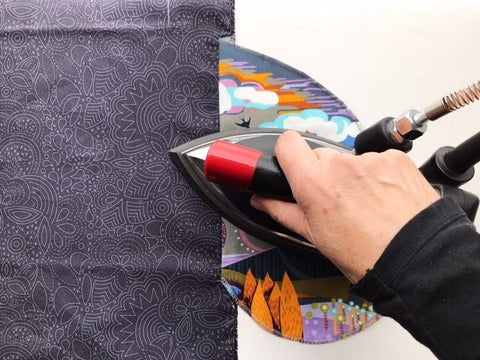
Now for the odd part. Now you stitch the last Pocket piece directly to the Pocket you just stitched. Mark the seam allowance along the straight edge at the top and bottom of the pocket opening.
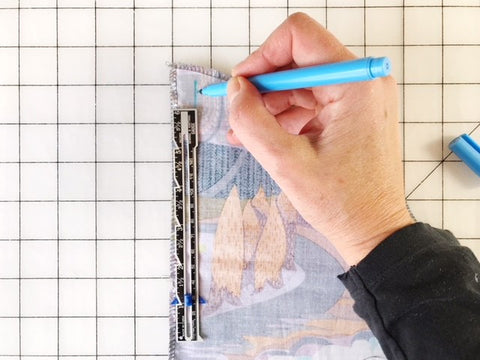
Stitch around the perimeter of the pocket starting at the mark you made for the seam allowance (far left of photo 1) and ending at the mark for the seam allowance at the bottom of the Pocket opening (photo 2).


You want to take care to isolate the pockets you are stitching them together. Keep the Skirt Front and other seam allowances from getting caught up in the pocket seam.

The seam allowance along the straight edge of the Pocket will be loose. This is the pocket opening so all further steps for the zipper insertion involve preserving this pocket opening. Press the loose seam allowance of the pocket opening towards the pocket as shown.

So - PLEATS - next time! Promise! Thanks so much for following along!

