Click here to read previous installment.
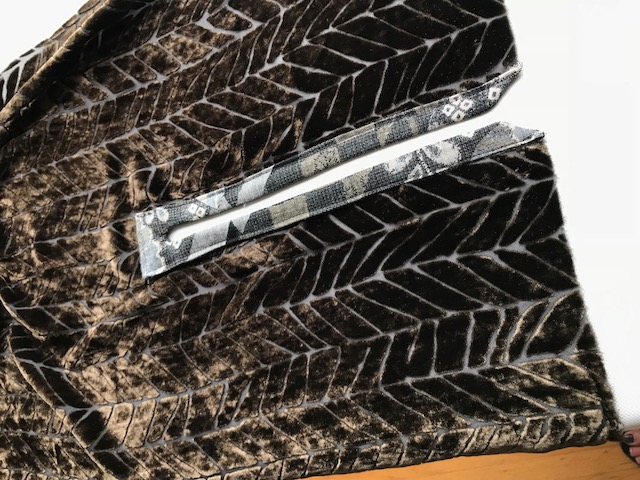
Now we are cooking with gas and getting to another detail that makes the TLC caftan so unique. The Side Panel does not have a side seam! The armhole is a slash at the side line with a reverse facing of contrasting fabric. It might seem like a small detail but it is the kind of design element that makes a pattern nerd very happy!
So let's get started. First step is to mark your Side Panel pieces determining which edges will be the "front edges." You need to mark the small circles for the Pocket opening and transfer the stitching line and slash line from the Armhole Facing to the Side Panels.


Also, mark the stitching lines on the right and the wrong side of the Armhole Facings.

Attaching the remaining Pockets to the "front edges" is the next step in the instructions, but we made the facing first and sewed the pockets on after so these photos don't have the pocket on there yet.
Start by cutting two 1" x 1" squares of fusible interfacing and fusing them to the right side of the Side Panels. Center one square over the bottom of the slash line. The interfacing provides reinforcement for this area.

With the right side of the Armhole Facing against the WRONG side of the Side Panel, align the stitching lines and pin in place.
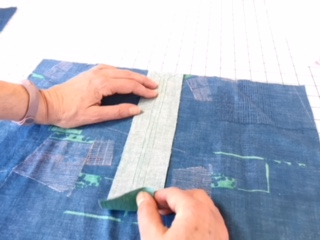
Stitch along the stitching lines, pivoting at the upper angled seam. The stitching line has this crazy shape to better enclose the raw edges near the armhole opening once the Facing is turned and the shoulder seam completed.

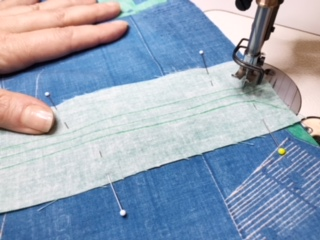
Follow the stitching line until about 1" from the pivot point at the bottom of the slash line. Shorten your stitch length to 2mm or so.

Use the shorter stitch length for the stitching through the pivot point and back up the other side for about 1".


Return to a normal stitch length and stitch the remainder of the seam.
Turn up a scant 1/4" on the outer edges of the armhole facing as shown.

Slash along the slash line taking great care at the bottom not to cut through the seam.
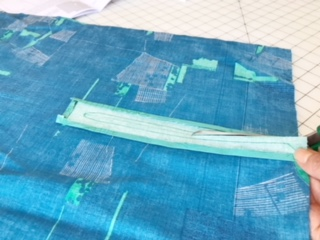
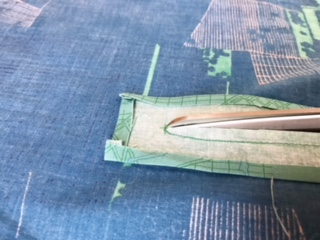
Carefully clip the seam allowance at the curve near the bottom of the slash. These clips are important to getting the curved area of the seam to lie flat once the facing is turned.

Clip the corner at the seam angle near the top. The left side has been clipped, the right side is still intact.

Turn the Armhole Facing to the right side and press.
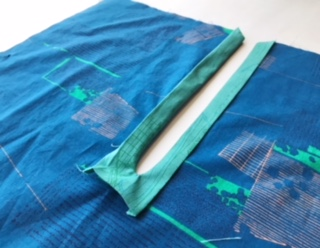
Take care to tuck in any raw edges that might be trying to peek out at the corners of the facing. (A dot of glue stick can be useful controlling areas like this.)

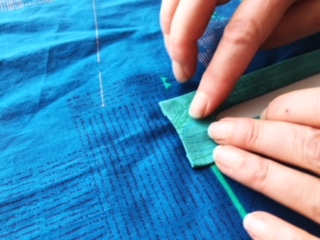
Edge stitch the Facing in place.

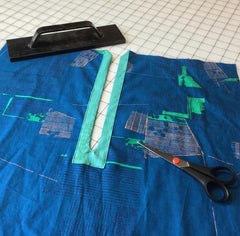
At this point, we remembered the Pockets and stitched them on to the "front edges" of the panels. Stitch with right sides together matching notches and small circles.
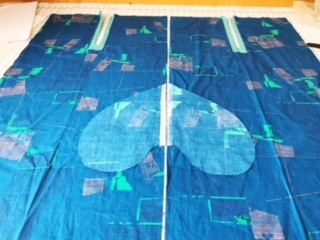
Here are both Side Panels with the Facings complete and the Pockets attached and pressed to the side.

With right sides together, stitch the shoulder seam. The Armhole Facings will meet at the edge as shown.
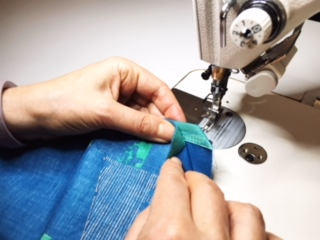

Before pressing the seam open, turn down a scant 1/4" along the seam allowance edge and stitch close to the fold to finish the seam. This is vintage technique for seam finishing before the days of zigzag stitch and sergers. It makes for the best way to avoid any raw edges showing near the armhole opening. Feel free to finish the seam differently if you prefer, this was just the method that dealt with the raw edge exposure as completely as possible. If raw edges at the armhole opening don't bother you, you can serge this seam and be done with it!


Now press the shoulder seam open.

That's it! Next time will stitch the Side Panels to the Bodice/Skirt assembly and make the Inset Facings. Getting there!!

