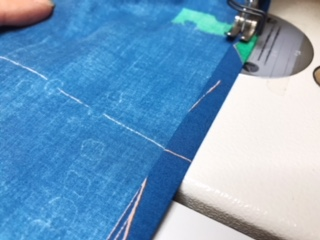
Click here to read previous installment.
We're on the home stretch now! In spite of the somewhat time consuming detail of the reverse facing, this Caftan can zoom along quite quickly after that because the rest of the contstruction is done by machine (with a wee bit of hand basting to facilitate one step.)
Next in the construction is to attach the Side Panel to the bodice/skirt assembly. Start by turning the Side Panel right side out. Your bodice/skirt assembly should be inside out. Slip the Side Panel inside the bodice/skirt assembly and match up the shoulder seams and reference marks. (If this caftan looks off to you in terms of length, remember we shortened View B by about 12 inches to make a tunic length version.)

The Waist Insets go in between the notches marked on the pattern piece.

Stitch the Side Panel to the bodice/skirt assembly. There might be a bit of easing to be done along the bodice part of the seam.

Pivot at the small circles and stitch around the perimeter of the pocket.


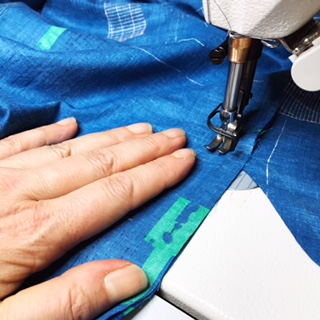
Clip the seam allowance above and below the Pocket and press the Pocket towards the center front. Press the rest of the seam towards the Side Panel. (somehow, we did not end up with photos of this part! Sorry!)
On to the Waist Inset Facings. We'll show you our work attaching elastic to one end of an Inset Facing piece. You'll need to do these steps to finish both the Front and Back Waist Facings.
Turn in the 5/8" seam allowance all around the Waist Facing (the end of the seam gauge is 5/8" and makes for a quick check for accuracy).


Now turn under the tips of the seam allowance across the short ends to create a straight edge as shown.

Cut your length of elastic into 4 equal pieces and slide the end of one piece under that straight edge.

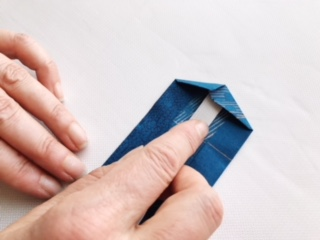
Edge stitch the straight edge through all layers securing the elastic in place.

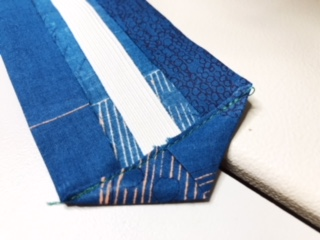
Flip the elastic towards the point at shown.

Stitch from the right side securing the elastic to the point. Pretty much any configuration of stitching will do. The goal is to have that tip of the Waist Facing stitched to the elastic.

Once you have attached the elastic to each end of the Waist Facings, turn the caftan inside out and place the Facing over the corresponding Waist Inset. We are working with the Waist Facing Front in these photos.
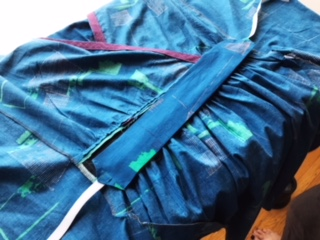
Pin the Waist facing in place matching the center fronts. The folded edges of the Waist Facings should just cover the seams from the Waist insets.

Even though hand basting seams like a pain, it is the best way to do this step. It is worth the small bit of time to hand baste the Waist facing in place.
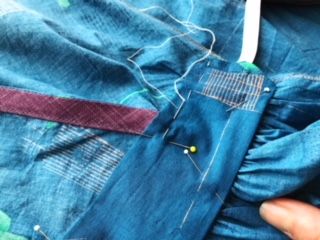
Sorry for the change up but the photos now switch to the Waist Inset BACK. Here is the Waist Facing basted in place.
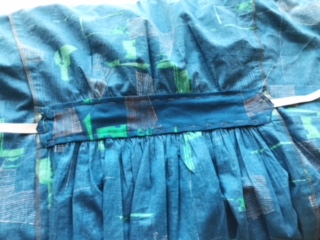
Working from the right side of the garment, edge stitch the Waist Facing through all layers. Take care to keep the elastic (or twill tape) free from the stitching.

It will look like this from the right side:
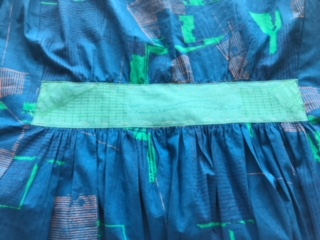
On the inside, the edges of the Waist Facing should be secured and it will look like this:

You can remove the basting stitches now.
All that is left is to make a quick machine hem and secure the elastic at the sides. Feel free to hem the caftan by hand if you prefer. The instructions call for a 5/8" hem but this is only a suggestion. You can put in a deeper hem if that is what you want.
Turn up 5/8" and turn the raw edge down into the crease.
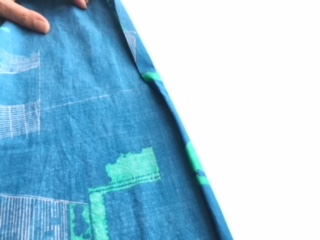
Stitch close to the fold.

Try on the caftan and pin or tie the elastic at the inside the caftan to your preferred snugness at the waist. Mark the elastic.

Overlap the elastic, aligning the marks and stitch together.


You're done! Enjoy!


